
 ImprintShoutoutsProjectsSetupAbout meImprintShoutoutsProjectsSetupAbout me
The beginning of this project goes back to the time when I started programming. At the very beginning I ordered a RaspberryPi, and a pack of 7-segment displays and other LEDs to get familiar with the GPIOs.
As time went on, more and more was added.

The 7-segment ads are actually 8-segment ads because there is another dot or colon next to each number. The problem in that case is the number of pins, since a RaspberryPi has 40 pins, 11 of which are unassignable, that leaves 29 pins available. So if you connect each pin individually, you need 24 pins for the 7-segment displays, leaving only 4 pins.
However, with a little brain power, a solution was found that only 16 pins were used up. This leaves 4 pins for the buttons that can be used to set the time, set the alarm clock and play music.
In addition, there are the status leds in the margin. They show whether I can sleep in tomorrow, whether music is playing and whether the alarm clock is activated. Above the leds is the connection to the led strip in my room. Whenever music is playing, the led strip provides a backlight. Nowdays, I use a slightly more relaxed animation.
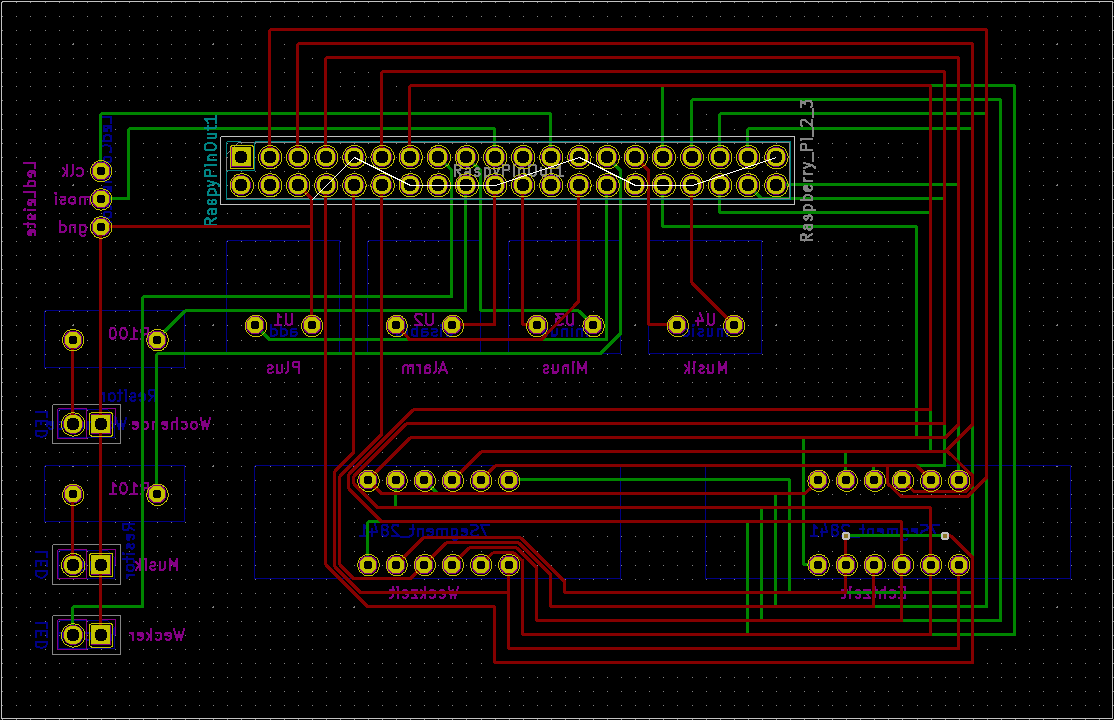
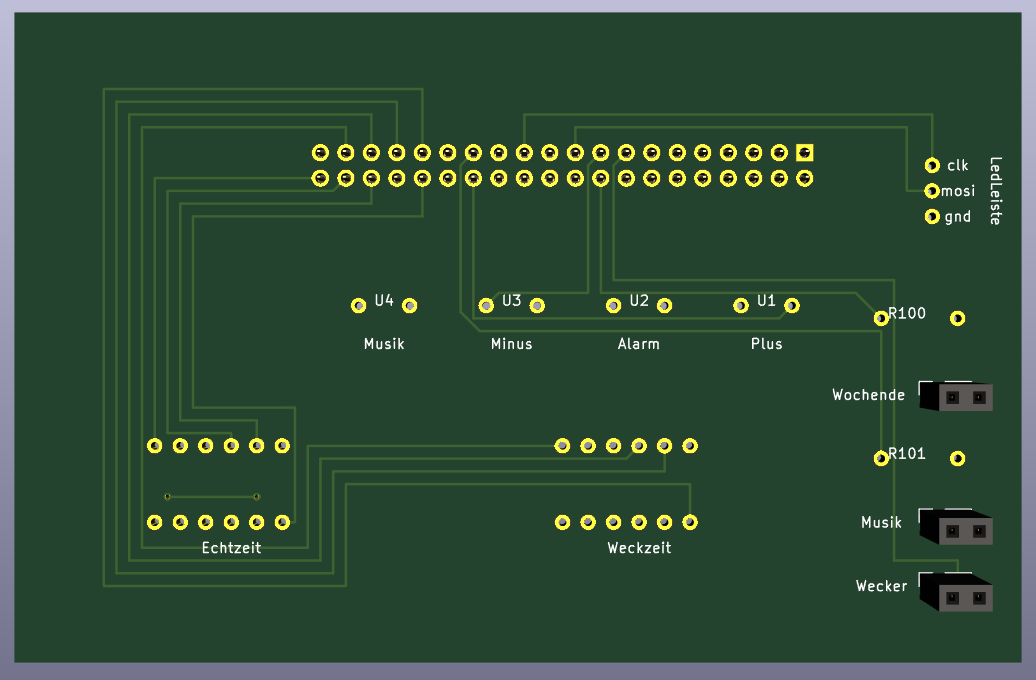
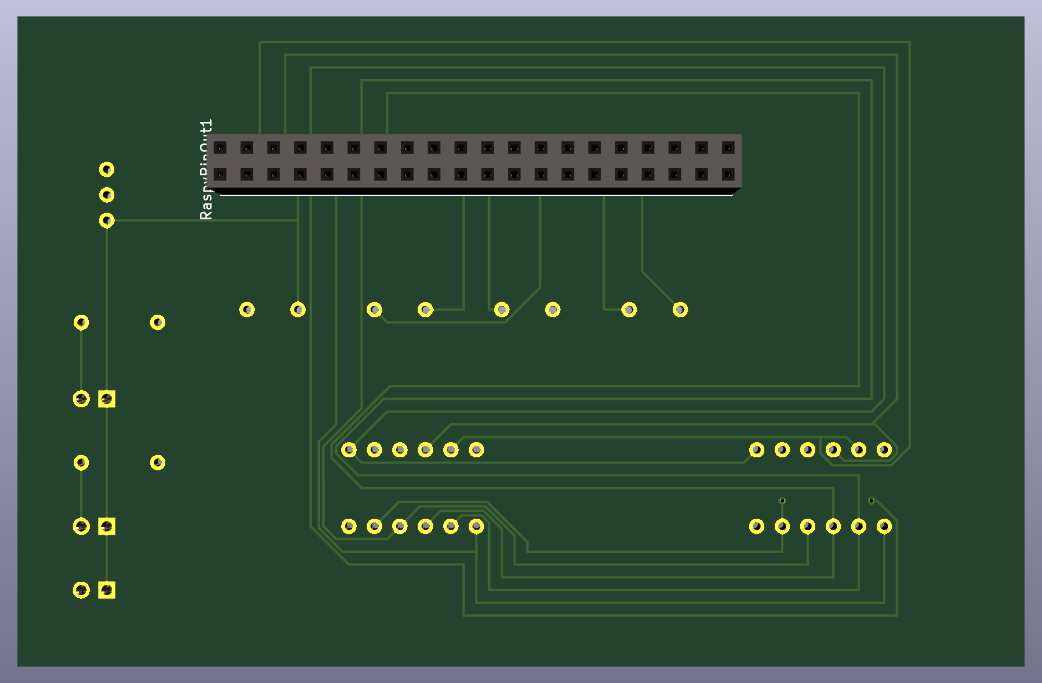
Last but not least came the circuit board. As it was a wee bit confusing with all the jumper cables. The board was designed with KiCad and manufactured in Europe.
In summary, I'm really proud of what I've put together here over the years. Not only from the exterior but also from the program code, there are one or two features I am proud of.